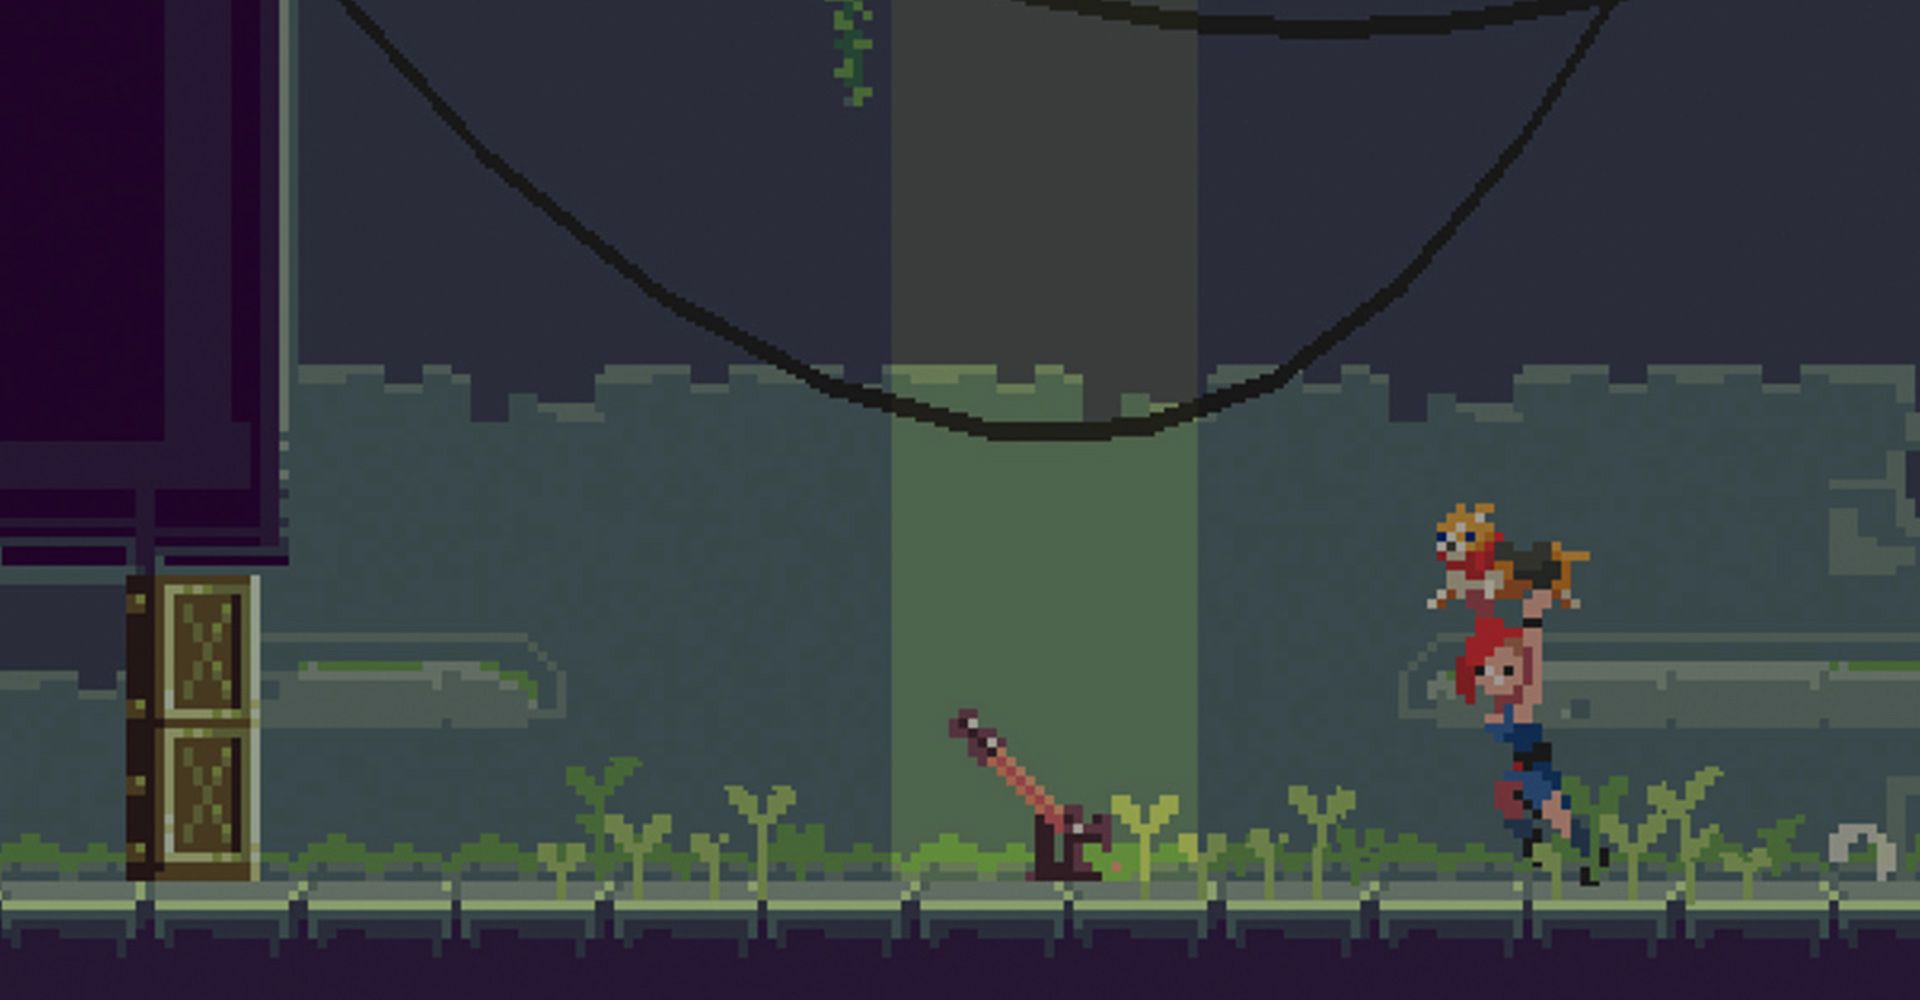
These tips best serve users who have some prior experience with Unity’s 2D toolset. Another great resource for professional creators developing commercial 2D games with Unity is our e-book, 2D game art, lighting, and animation.
If you’re new to developing 2D games with Unity, start with the 2D guide for new users.
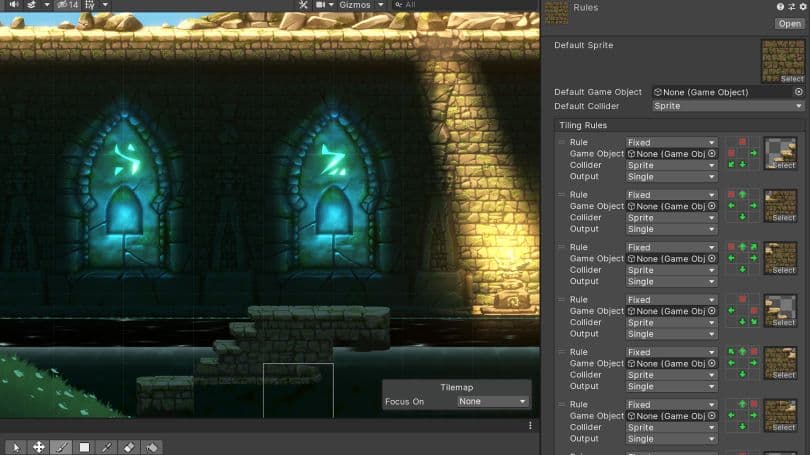
Here are a few general performance tips to consider:
For more 2D optimization tips, see these resources:
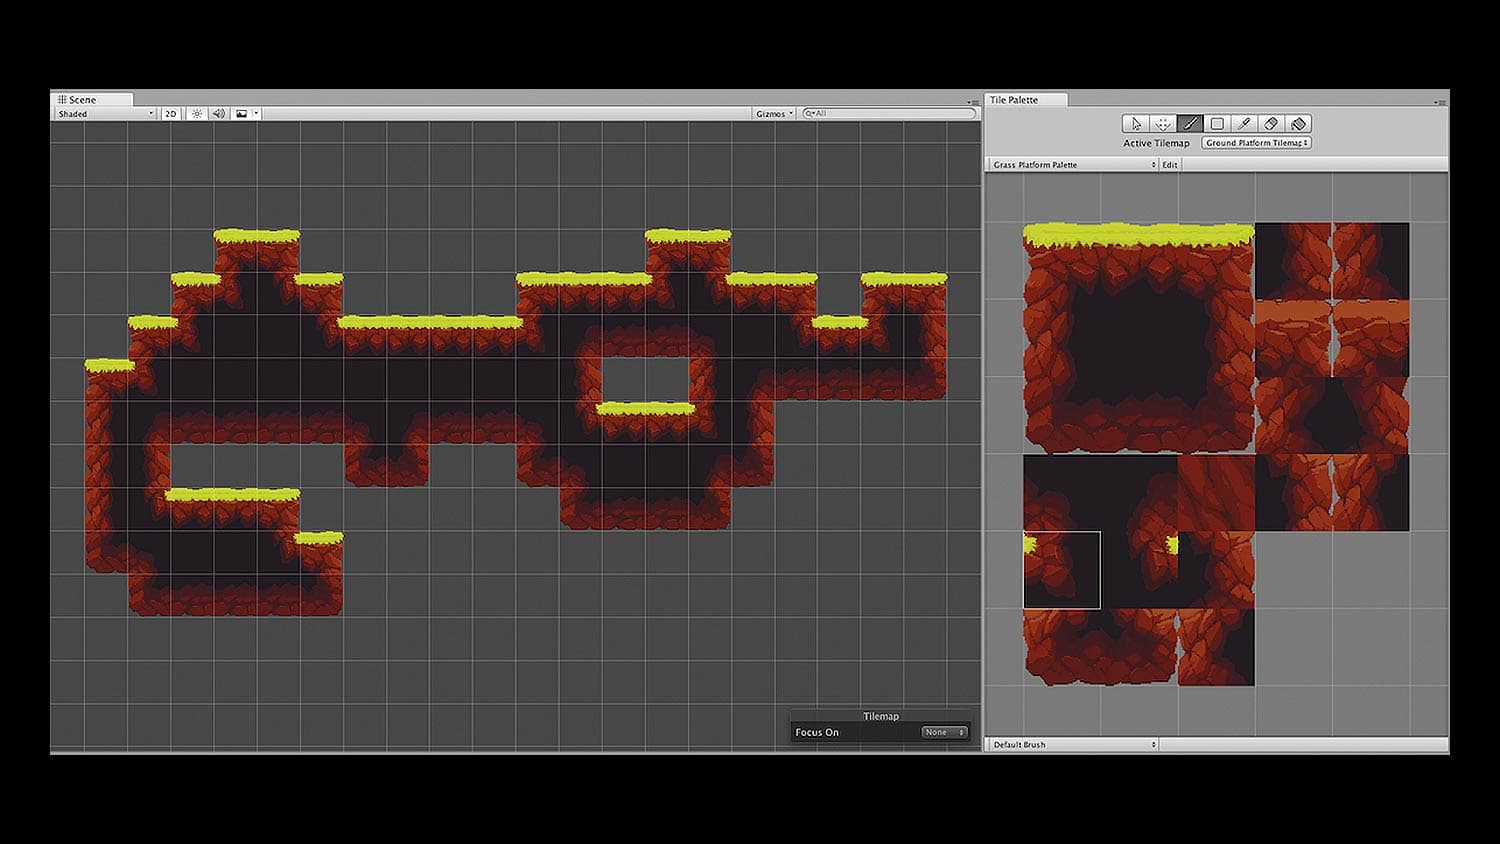
The Tilemap component allows you to efficiently create 2D levels using tiles on a grid overlay. It comprises a number of elements, including:
You can create 2D levels using a combination of Sprites and GameObjects, and control properties such as Sorting Layers, Tilemap Colliders, and Animated Tiles, among others. You can also paint Square, Hexagonal, and Isometric Sprites.
Paint your levels with Tilemap, so that the Tilemap Collider 2D component will auto-generate a Collider around the Tiles (based on the Tile’s Collider Type setting), when applied to a Tilemap GameObject.
Let’s look at the performance gains you benefit from with Tilemap compared to scenes built with Sprites.
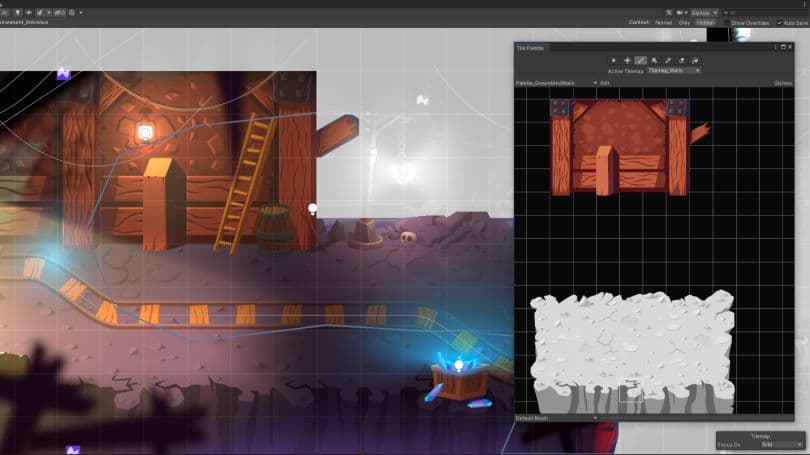
Using Tilemap reduces load times, as well as memory and CPU usage.
If you’ve developed 2D games and apps before, then you know that you can end up with a high number of Sprites in your game, all of them as separate GameObjects. There are components on each of those Sprite GameObjects, including a Transform and a Renderer, which all take up memory. Other components, such as Colliders, come with CPU overhead.
In comparison, a Tilemap uses one Renderer for the whole map and all of its tiles. This results in less overhead because it only handles its own data structures, compared to having multiple data structures across memory.
Having less GameObjects results in a cleaner hierarchy, meaning you won’t have to scroll through a complex list trying to find what you need.
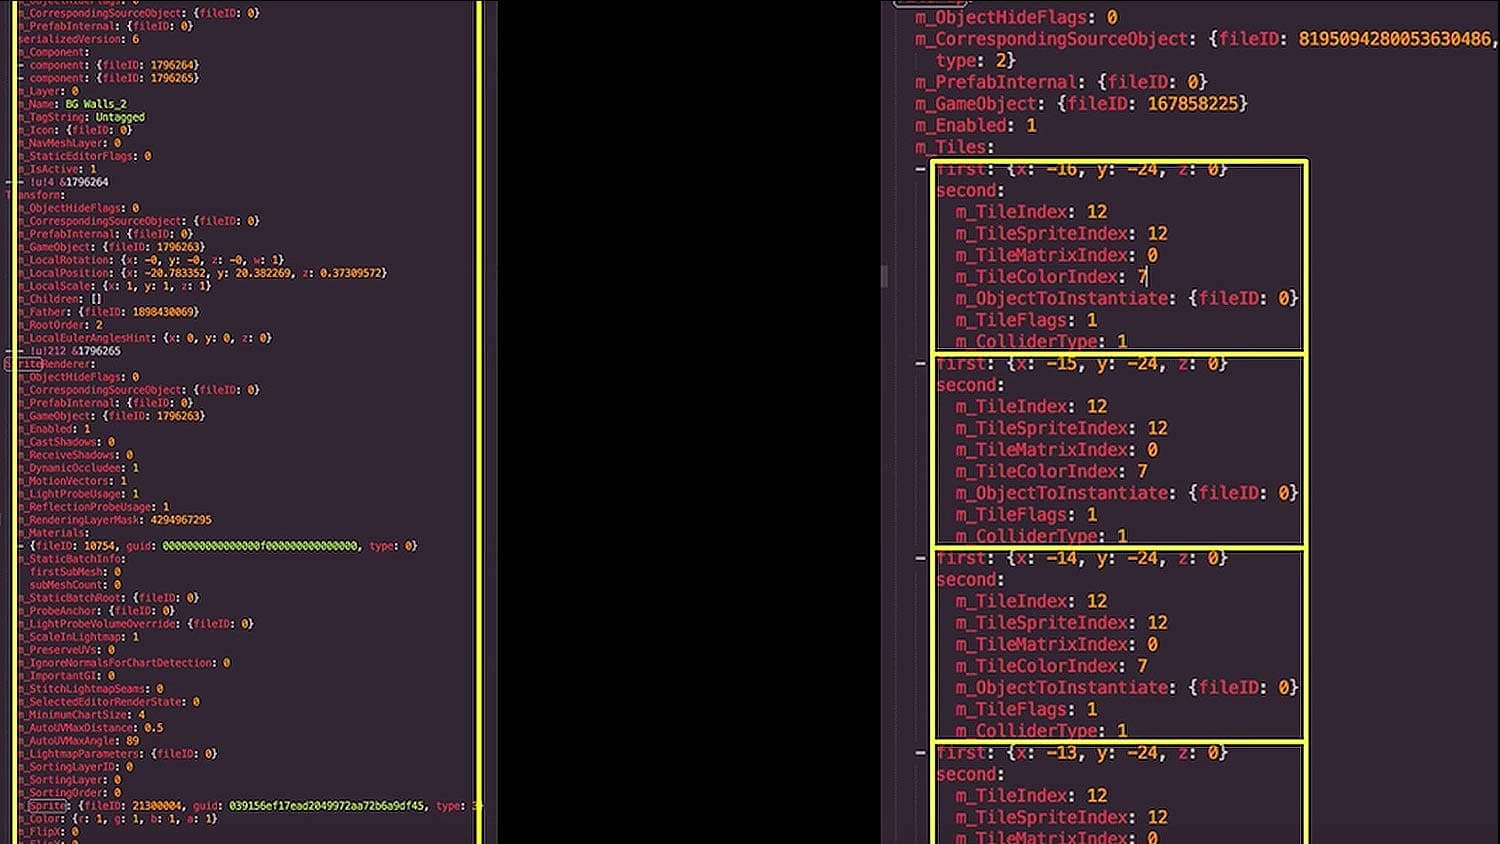
Unity Tilemap reduces scene size. Having fewer GameObjects and components means less objects to load from disk, deserialize, and keep in memory at runtime.
Loading scenes in Unity is a two-part process: First, the data is read from the disk. This is the process that often takes up the most time in your game, especially on Android devices. Then the data is deserialized. Deserialization is the process of transforming data from one format to another. Essentially, it restores data and objects from a saved state. Unity does the serialization internally so that whenever it loads a scene file in-Editor and at runtime, it takes those saved files and turns them into Unity objects.
In the above image, you can see a comparison between two serialized scene files, one that uses Tilemaps, and another that is recreated using Sprites. Thanks to Pixel Reign for this scene from their game Robbie Swifthand.
On the right is a section from a serialized Tilemap, made up of four tiles. The rules for all of the tiles, including the type of tiles used, are set at the top of the Tilemap. Each of the proceeding tiles state properties like the tile used and its position.
On the left is one Sprite, with Transform and Sprite Renderer components.
It’s clear from this comparison how much work the Sprite serialization has to do. In particular, the scene using Sprites has 370,000 lines in its file, whereas the scene with Tilemaps has 30,000 lines. Smaller project and repo sizes result in faster iteration times and smoother workflows.
If you want to view your own scenes as a text file, go into your Editor settings, turn on Asset Serialization mode, click on Force Text, and open the .unity scene file in Text Editor.
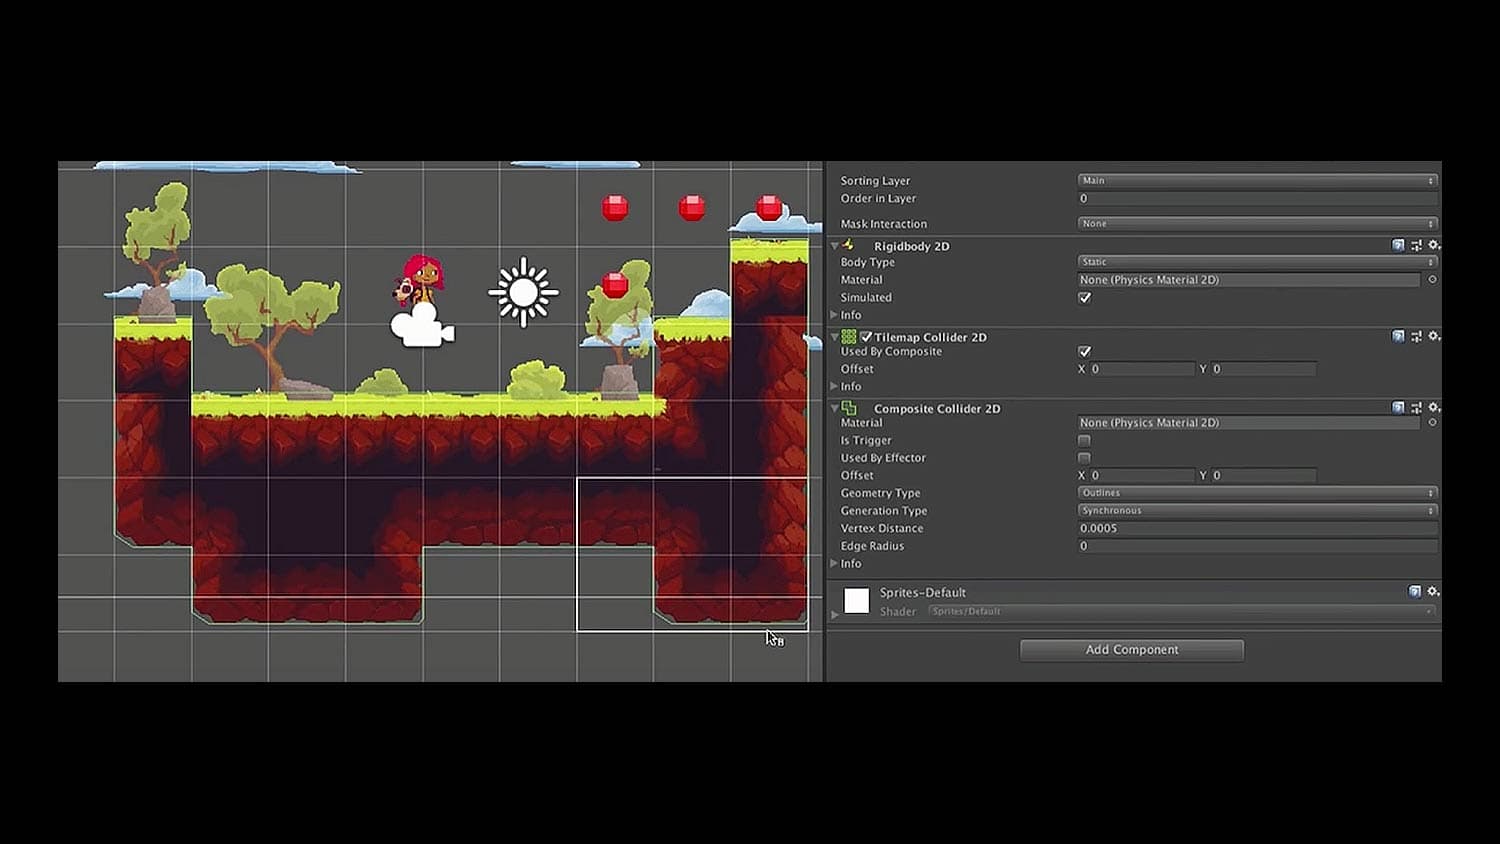
You can combine the Tilemap Collider 2D with the Composite Collider. Not only will this reduce the number of Colliders and Sprites, it also brings more efficiency to your production because there’s no need to rebuild complex Collision shapes every time you make a change. The Composite Collider takes care of that.
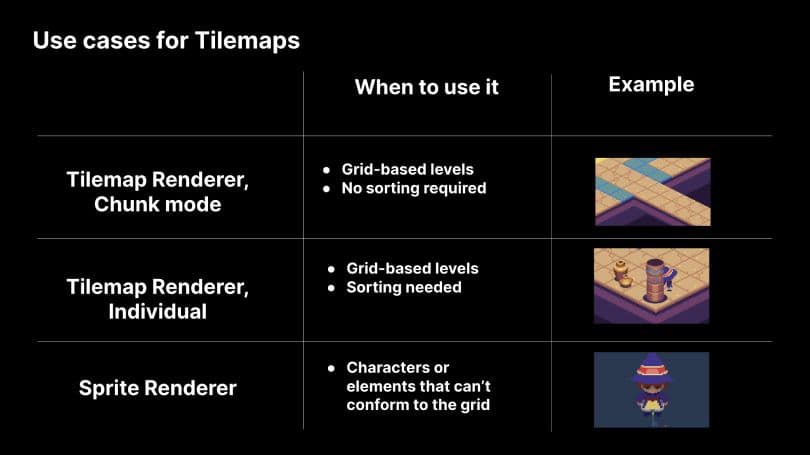
As mentioned earlier, each Sprite has a Sprite Renderer component, and having more renderers requires more work from the CPU, including time for culling preparation and cleanup for rendering. By using Tilemaps, you’ll have fewer Renderer components, thereby saving CPUs some work.
More than one camera in your scene means more renderers. This increases the culling cost.
In Camera view, there is a per-renderer, per-camera cost to culling. Every camera has to perform culling checks on every Renderer component in the scene, so if you have a multi-camera setup for your game, using Tilemaps will help you reduce that cost.
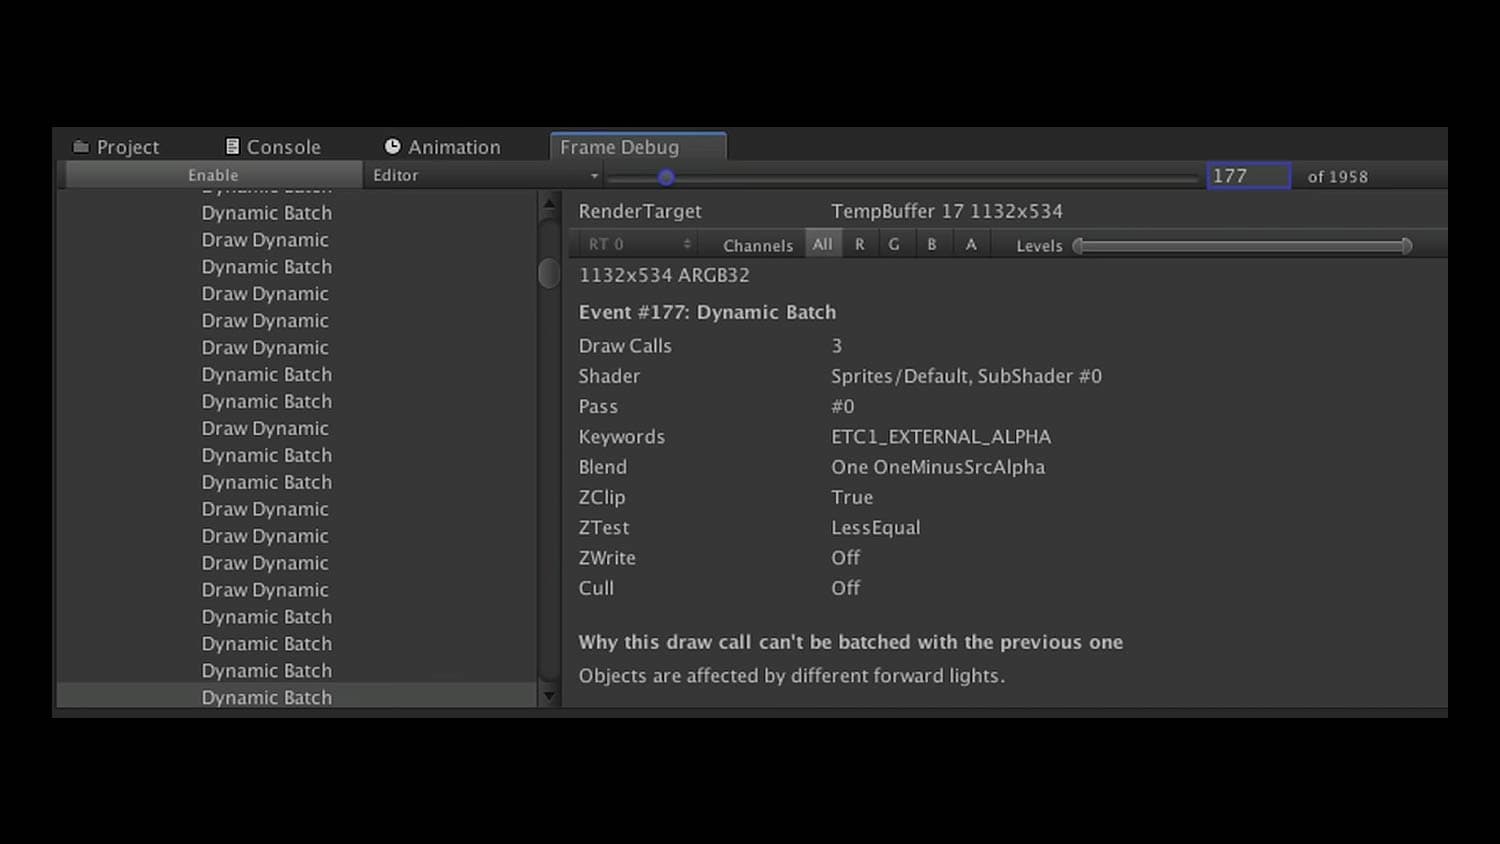
Batching is gathering all of the geometry that can be drawn, without doing another SetPass call. The Tilemap Renderer batches the geometry of the Sprites based on their position. The result is that the Tilemap Renderer sends fewer meshes with more geometry to the render pipeline, compared to the Sprite Renderer which sends more meshes with less geometry. As the table in the following section shows, the Tilemap-based scene has significantly fewer batches.
You can check the batching by looking at the stats panel in your Game view. You can also use the Frame Debugger to determine why items aren’t batching.
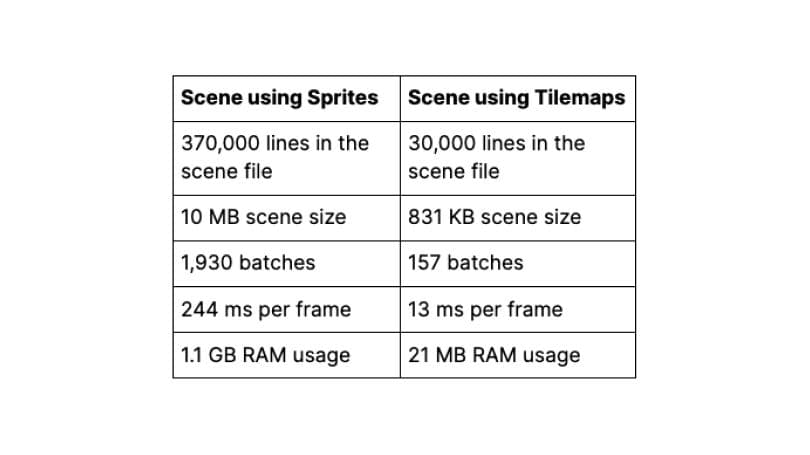
To reach 60 fps, each frame can take a maximum of 16 ms to render. When the sample scene was profiled on an old iPhone 7, the Sprite-based version had 244 ms per frame, whereas the Tilemap version had 13 ms per frame.
Finally, RAM usage was at 1.1 GB with the Sprite-based scene, which is too much for low-end Android phones, for example. The Tilemap-based scene used only 21 MB of RAM, making it suitable to run on a wider range of mobile devices.
The comparison above shows the clear difference in performance between the two scenes.
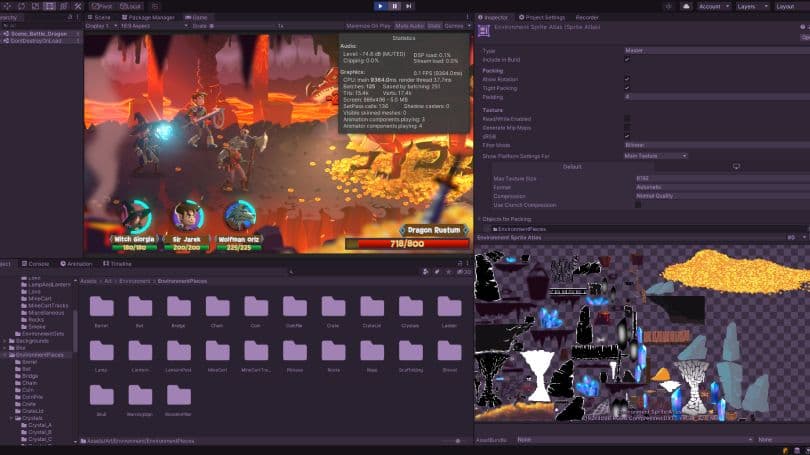
Sprite Atlas is the Editor tool that allows you to pack your Sprites in textures to optimize memory usage and draw calls. Create a Sprite Atlas Asset that includes all of the sprites used in your Tilemap so they can be batched by the Tilemap Renderer in just one draw call (so long as all the Sprites fit into a single texture).
Level up your 2D skills: Our blog reading list provides helpful tips for 2D game development.
2D Game Art, Animation, and Lighting for Artists: This free e-book provides best practices for getting the most out of Unity’s 2D toolset.
2D tools overview: Check out our handy overview of what Unity has to offer 2D developers.
Procedural patterns with Tilemaps – Part I and Part II: Add diversity to your game with procedural generation. These posts explain some of the algorithms you can use with Tilemap and RuleTile.