Powering cameras for real-time productions

Faster game development
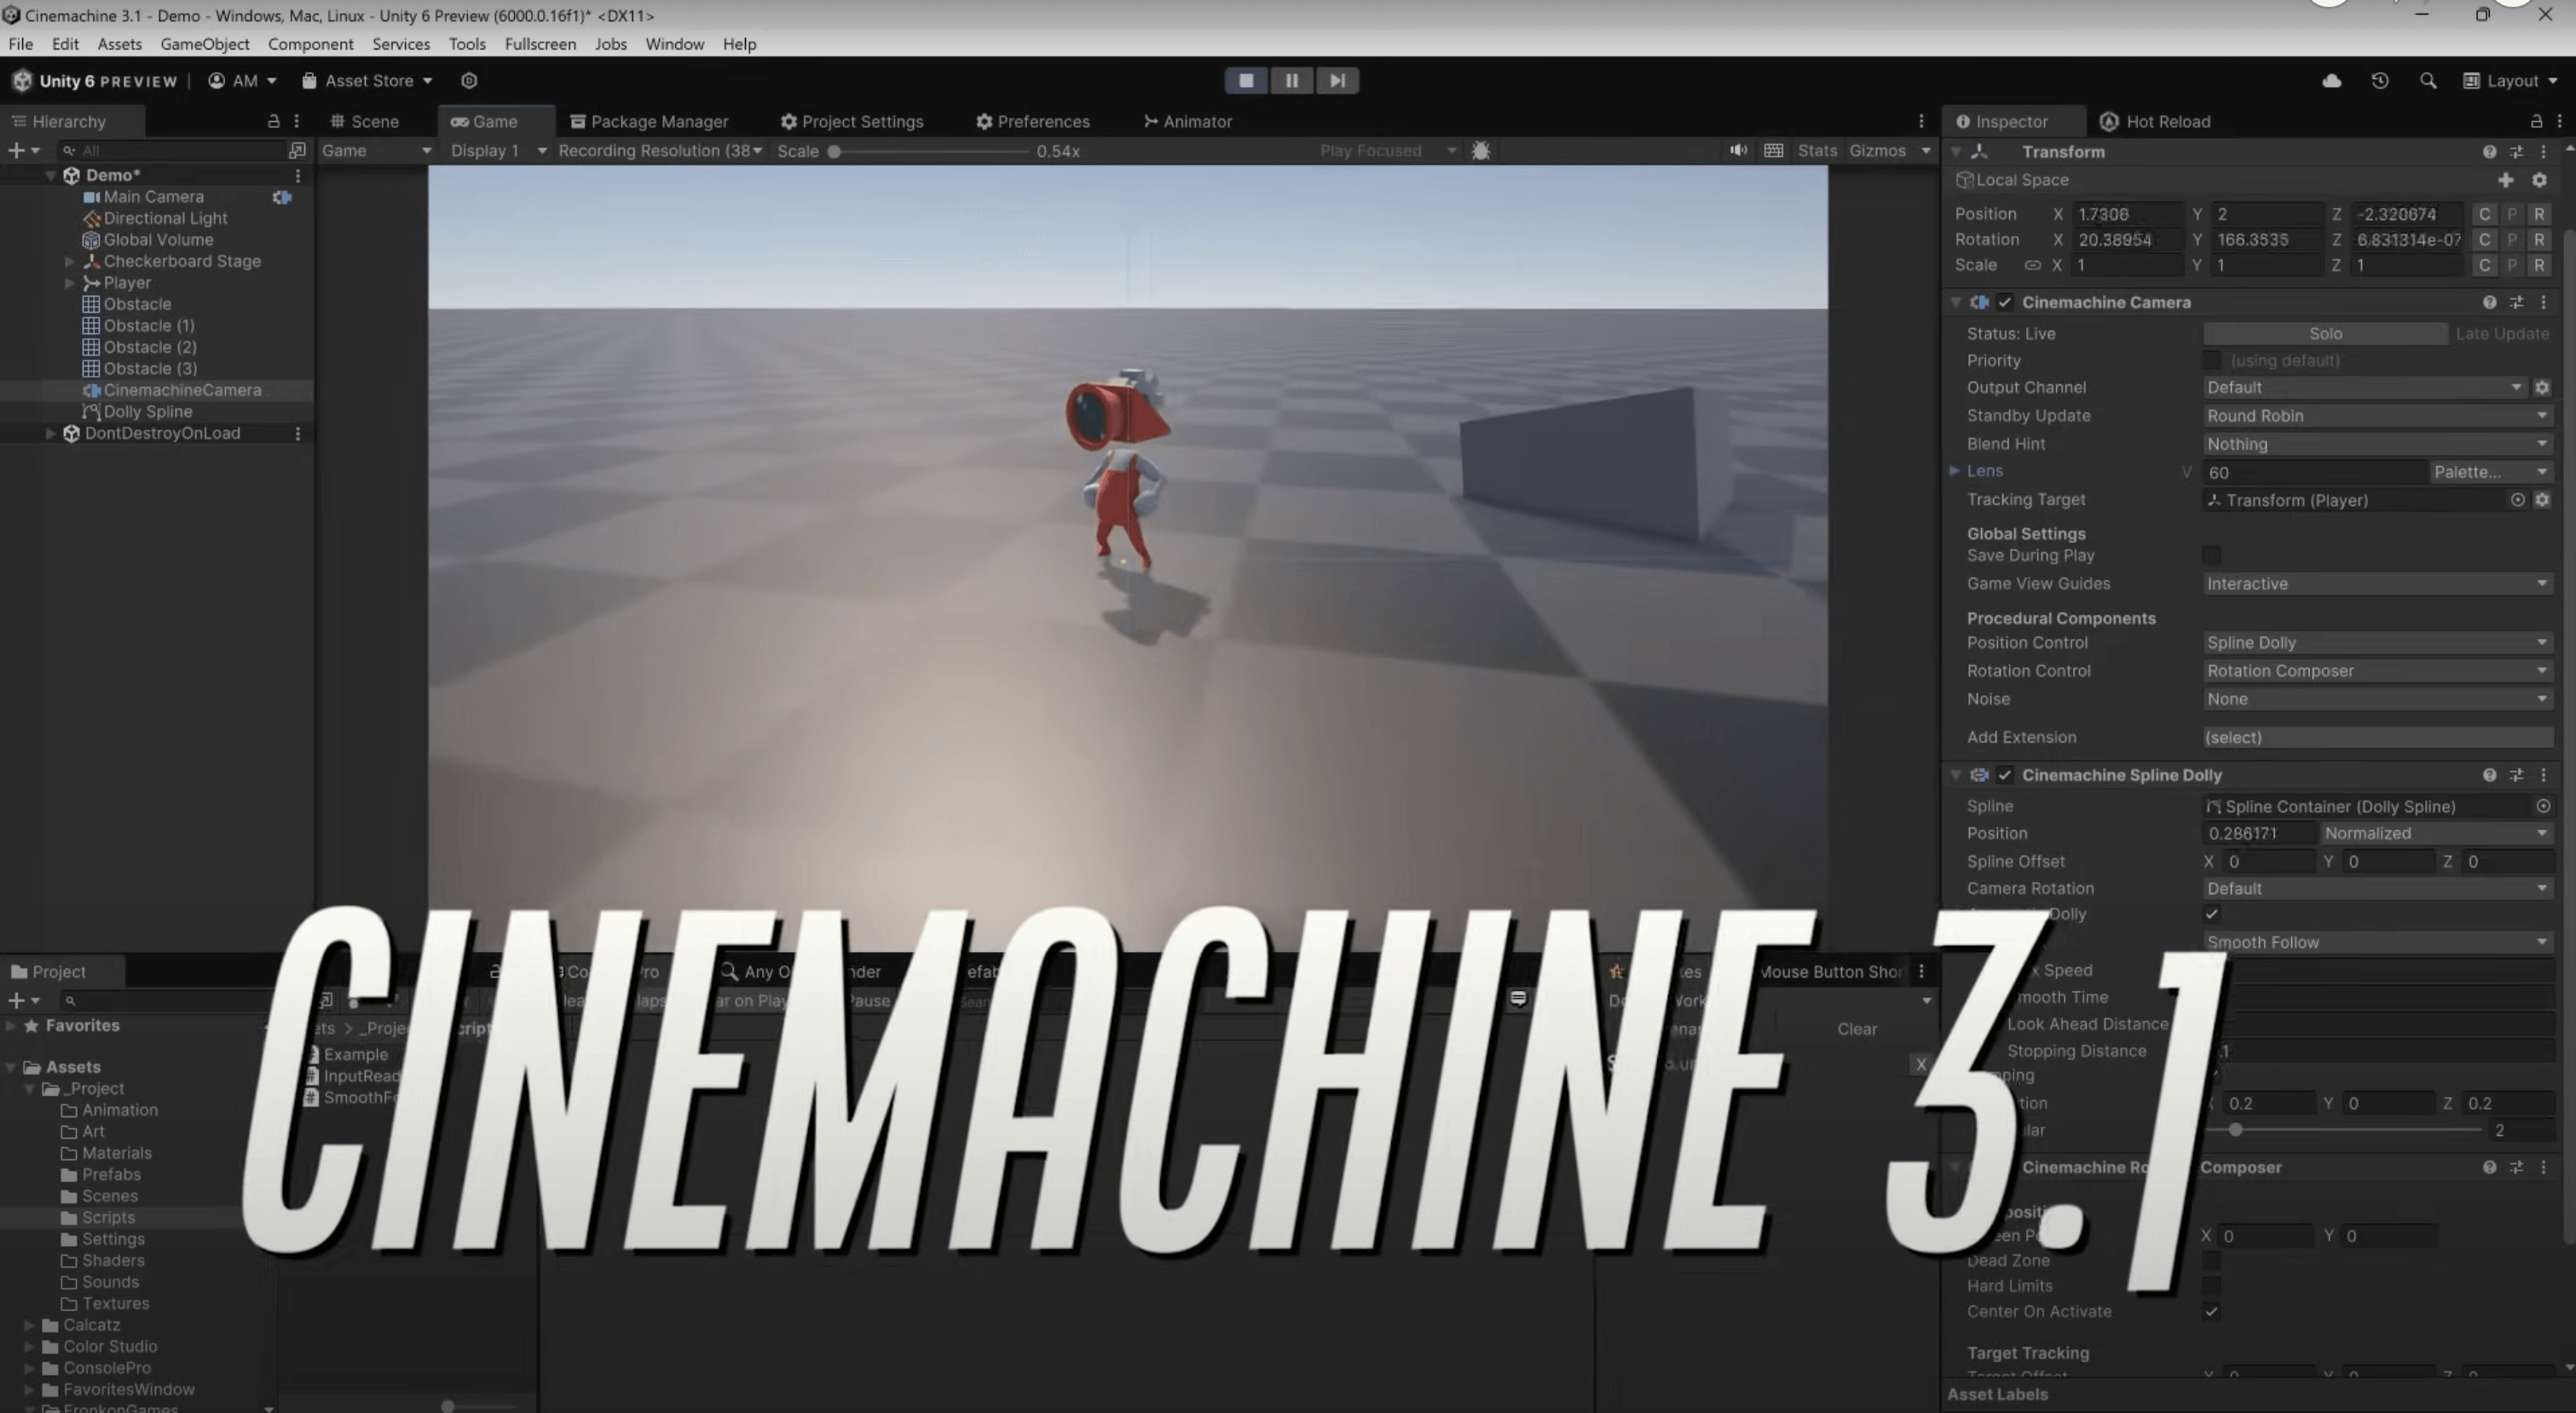
From first-person shooter to follow cam, from 2D to 3D, and from real-time play to cutscene, Cinemachine frees your team from expensive camera-logic development and allows you to iterate and prototype new ideas on the fly while saving settings in Play mode. With the release of Unity 6, Cinemachine’s UI, API, and GameObject structure have been redesigned, making it faster and easier to implement intuitive game mechanics in linear production workflows.

Installing Cinemachine
Use the Unity Package Manager (in the top menu: Window > Package Manager) to select Cinemachine for installation.
Cinemachine is free and available for any project. If you already have it installed, you may update to the latest version.
Fundamental behaviors
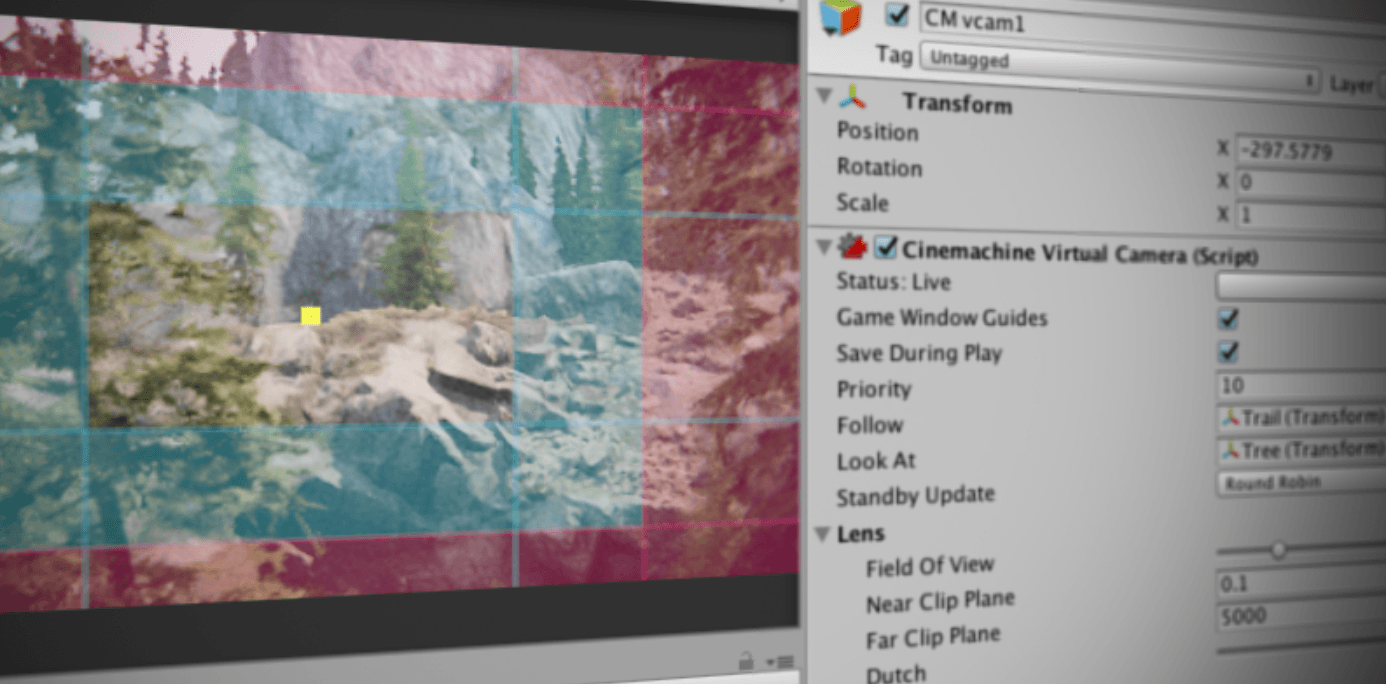
Rotation Composer
+Follow
+Free Look
+Cinemachine for 2D
+Target Groups
+Custom Blends
+Powerful features
Impulse
+Mixer
+Decollider and Deoccluder
+Confiner
+Noise
+Priority
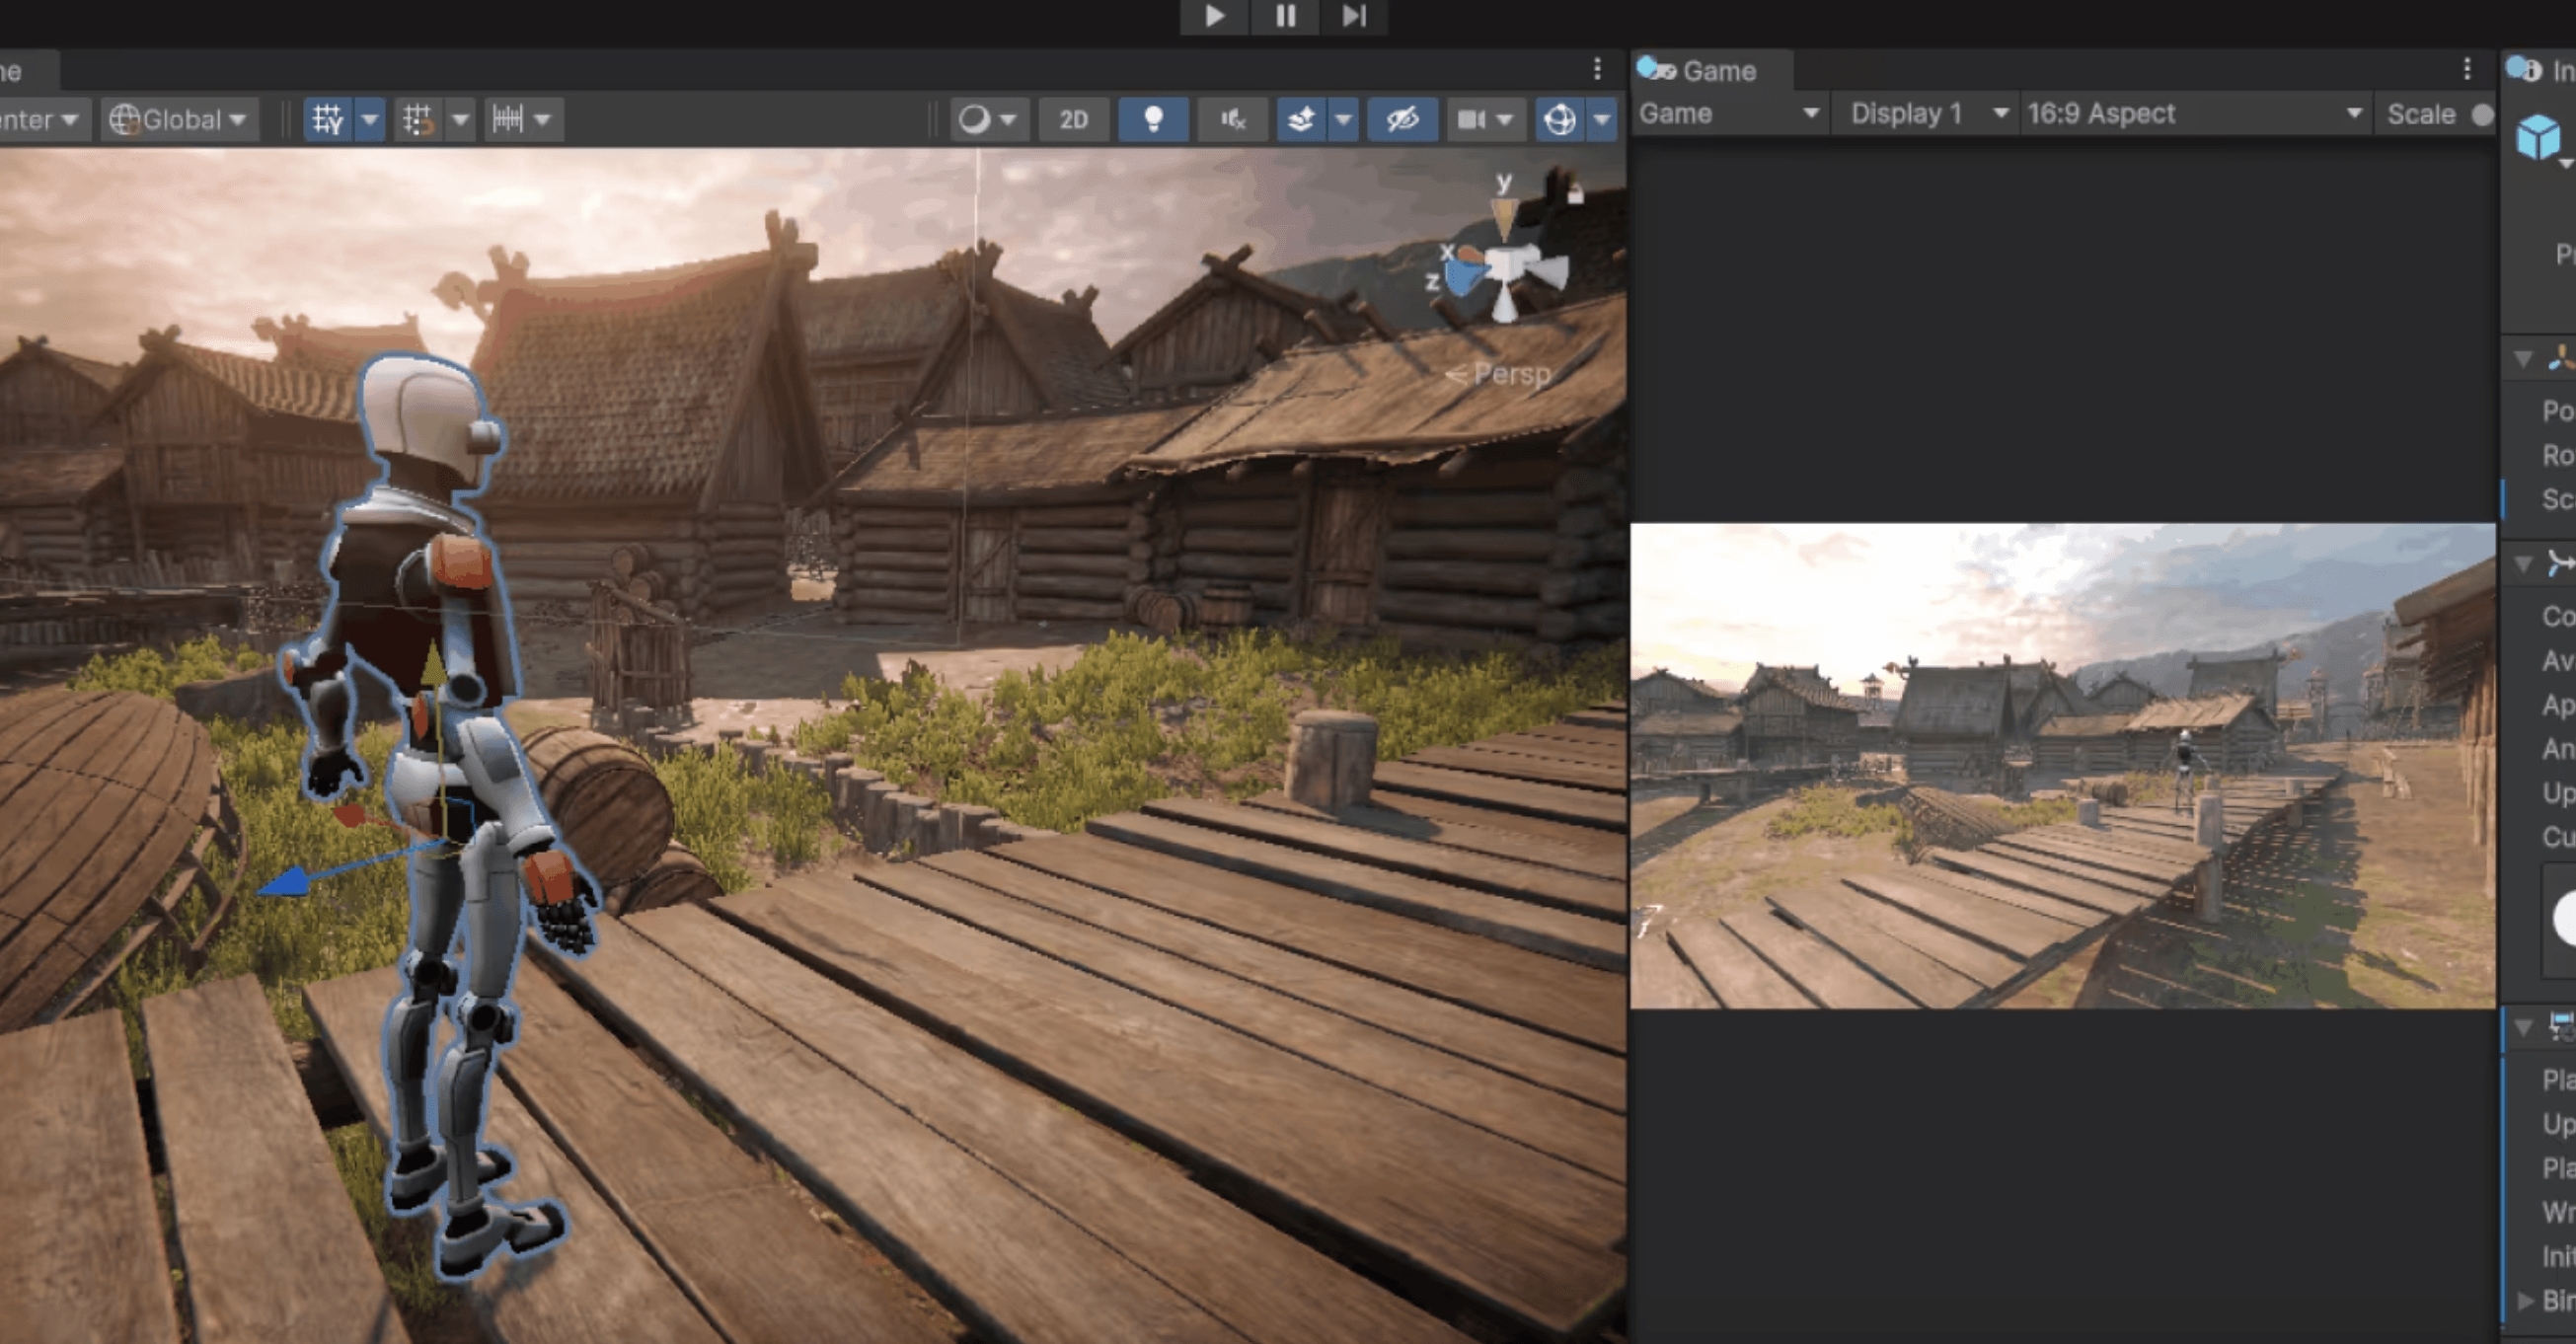
+SplitScreen and Picture-in-Picture
+Follow Zoom
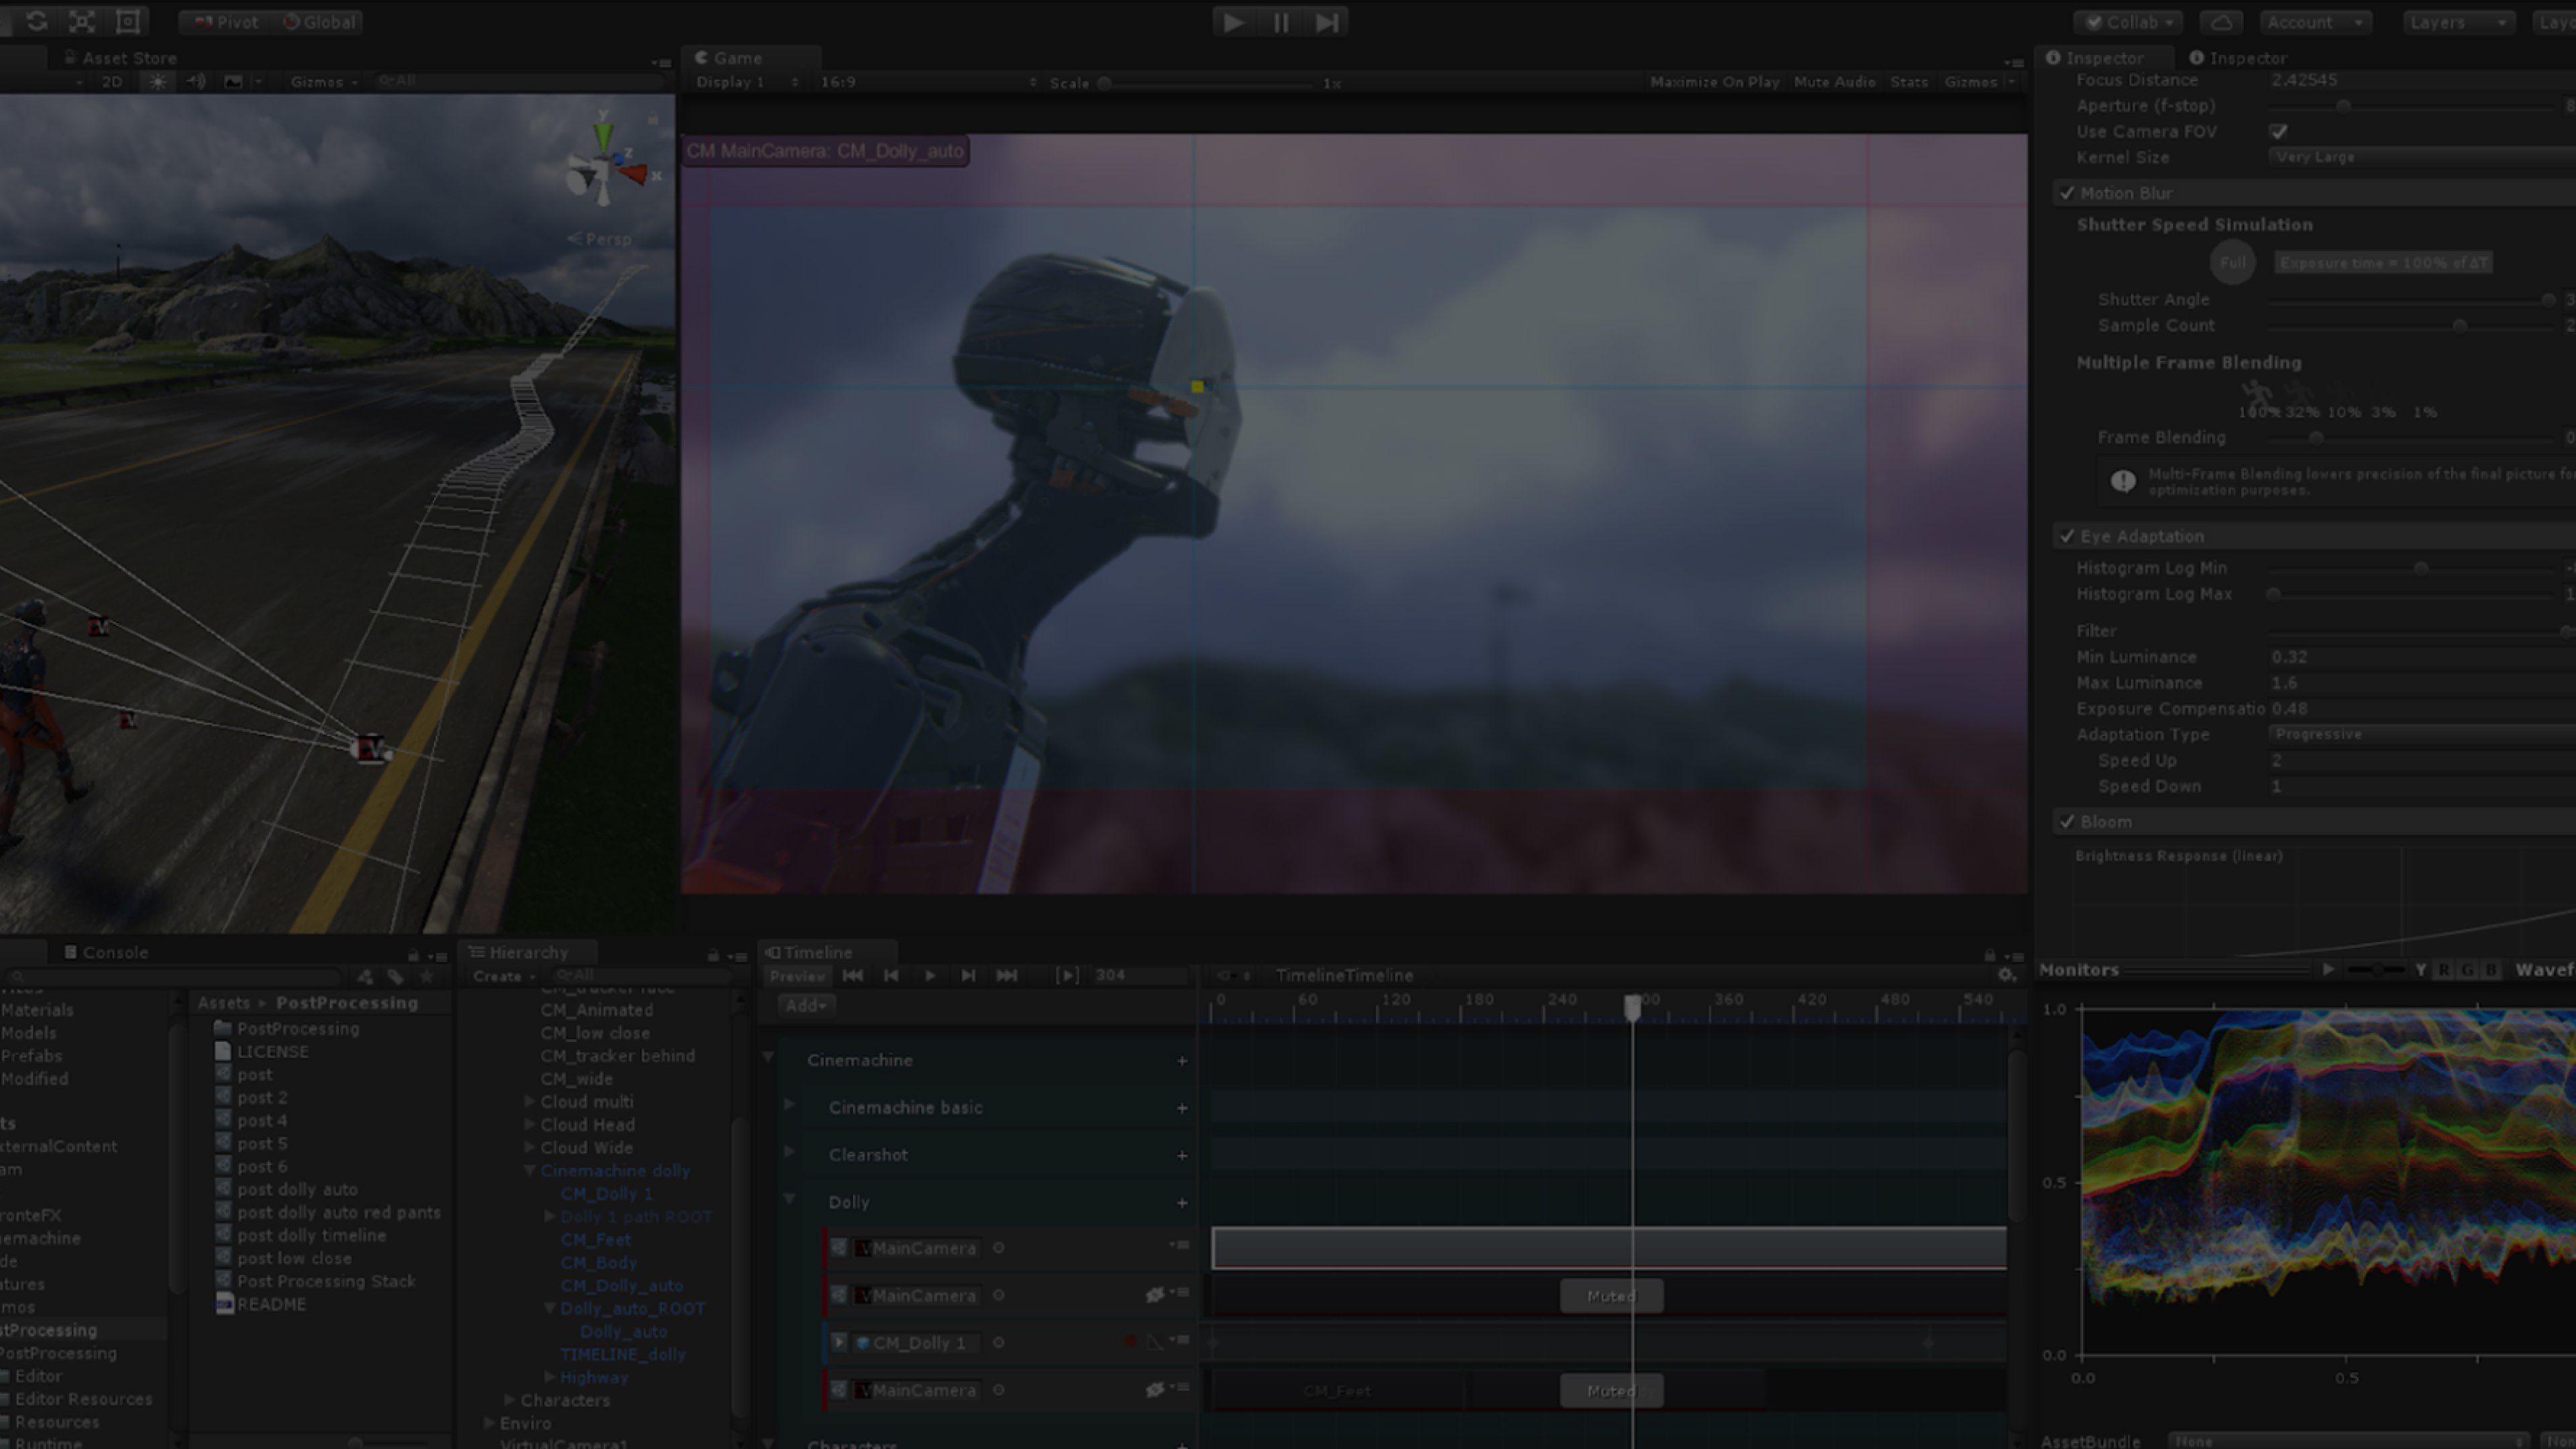
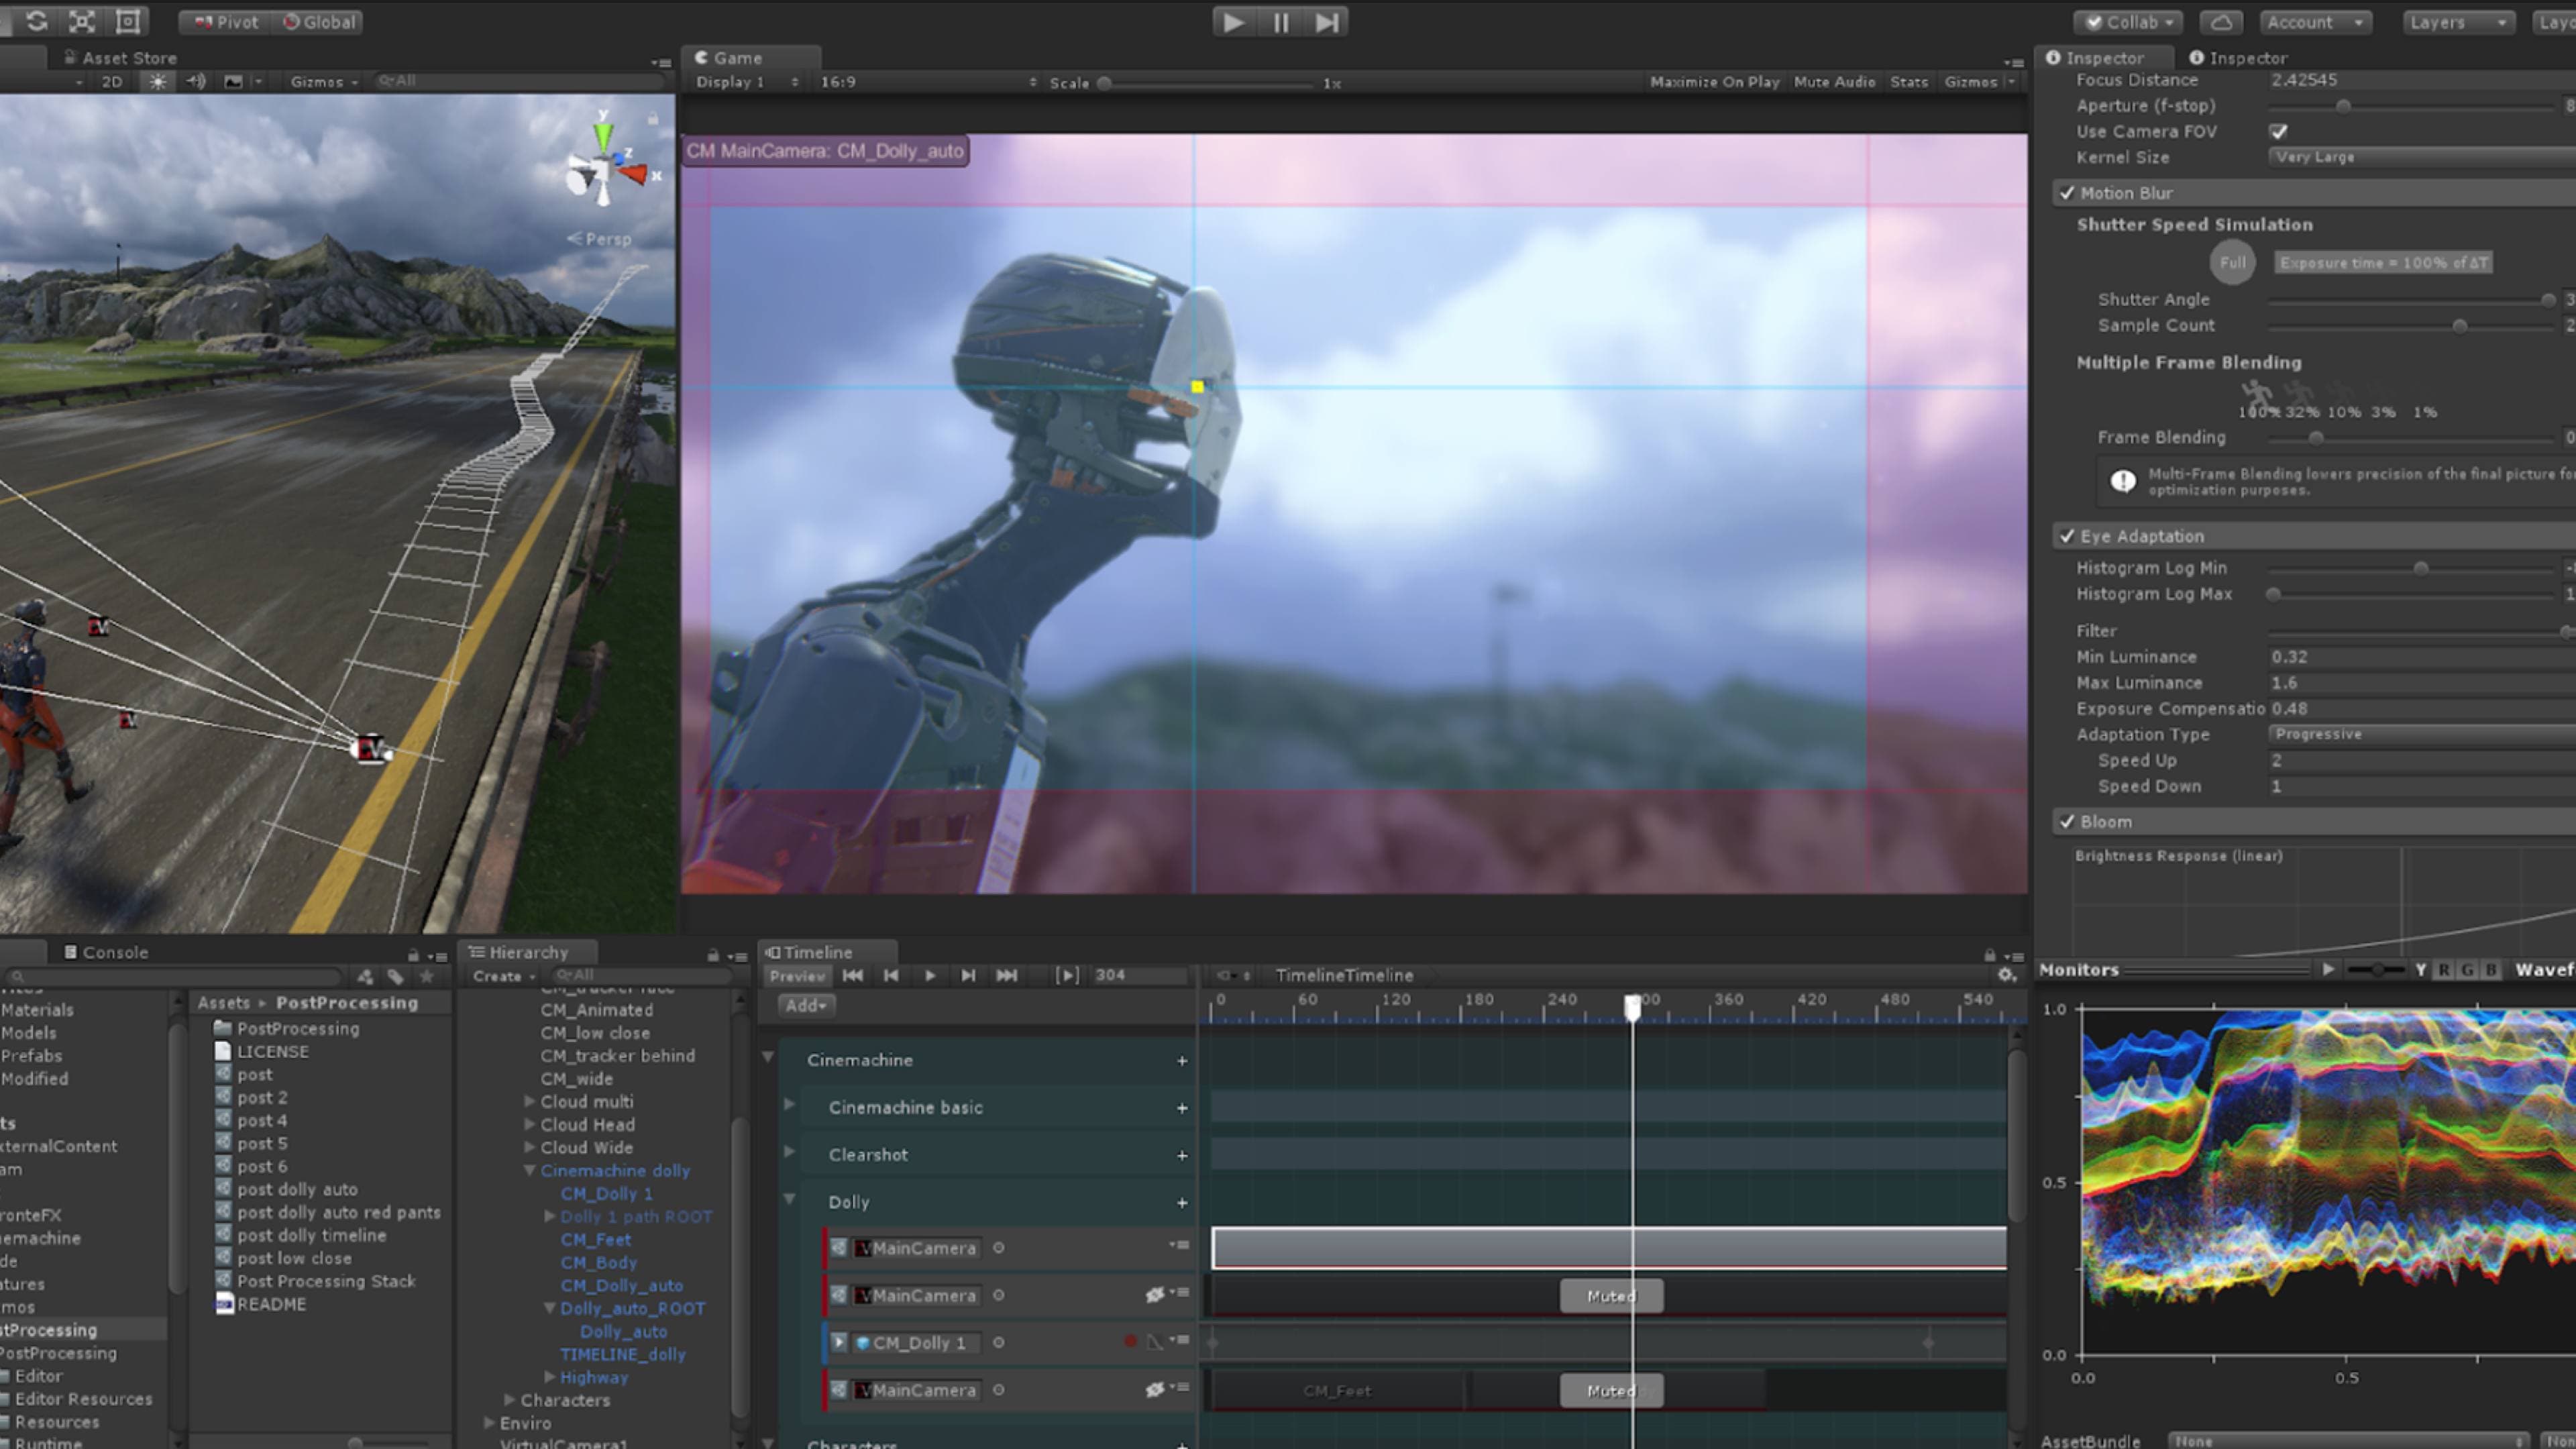
+Post-Processing Stack integration
+Clear Shot
+Advanced control
Tracking
+Post-Processing
+Shot Blender
+Lens Packs
+
Resources
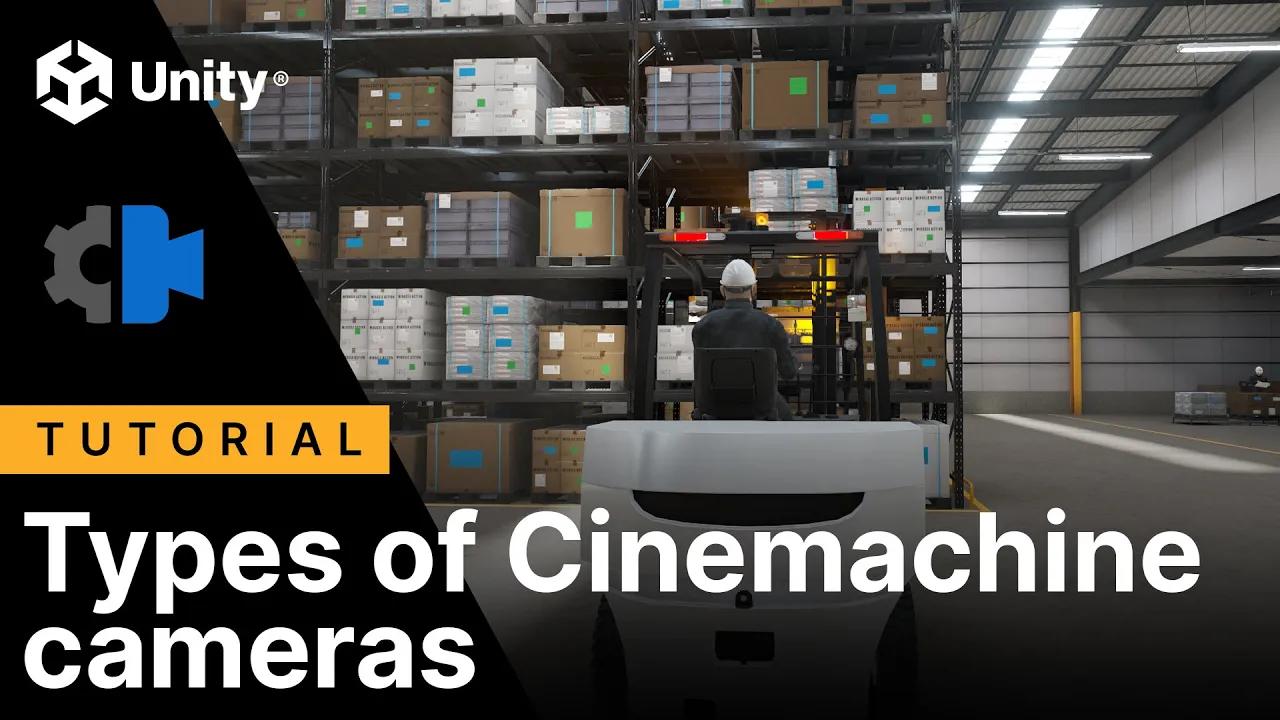
Unity Tips: Cinemachine Tutorials
This series of five video tutorials offers tips and tutorials on how to get started with Cinemachine.
Start using Cinemachine
Get the essential information to understand how Cinemachine works and follow instructions to set up the minimum functional layers to start using Cinemachine in your project.
Essential Elements of Cinemachine 3.1
Learn what is new in Cinemachine 3.1 and find out what's changed in the Cinemachine API and how you can upgrade your project to take advantage of the new features.
See what’s new with Cinemachine 3
In this blog you will learn what is new with Cinemachine 3 and you will see how the format has changed, bringing it in line with the rest of Unity.
Cinemachine tutorials
This legacy learning content shows you the features and uses for Cinemachine to see if it's right for your projects. You will learn how to build a planetary scale visualization, how you can add a Cinemachine Camera and Brain to your project, and more.